I decided to title my PComp final “Debugging Myself at ITP.” My goal was to create something practical—something I could actually see myself using or expanding in the future. I also wanted to incorporate as many of the e-labs and techniques we learned this semester as possible. Since I completed all of my finals independently, I chose to merge my PComp final with my ICM project.
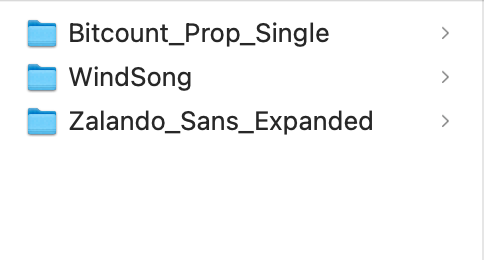
My initial idea was to build a transcription-based service. I kept thinking about the closed captions we see on TV and wondered: What if the computer could detect what we’re saying in real time, and what if those words could visually shift as we speak? That led me to experiment with typography, so I uploaded three Google fonts and began building the foundation in p5.js.
These are the three fonts that I started with below. I uploaded these into P5.
I started with a basic black canvas, and started to work on the speech recognition coding. That was most important to nail down as I wanted it to be as concise as possible.
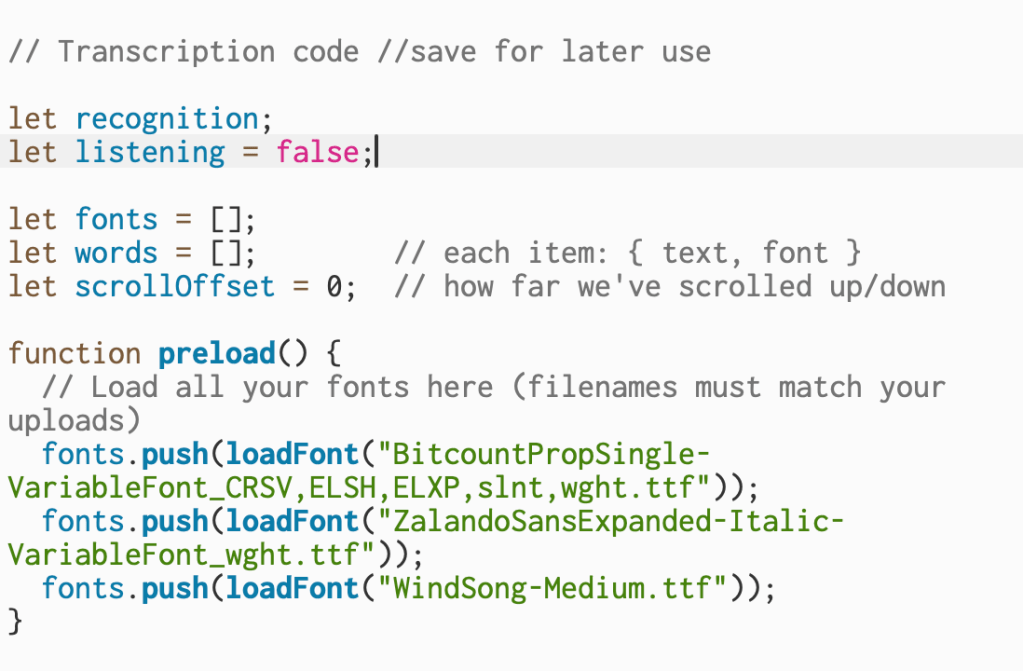
This code declares the variables that handle speech recognition, track whether the mic is active, store the uploaded fonts, and keep each spoken word with its assigned font.
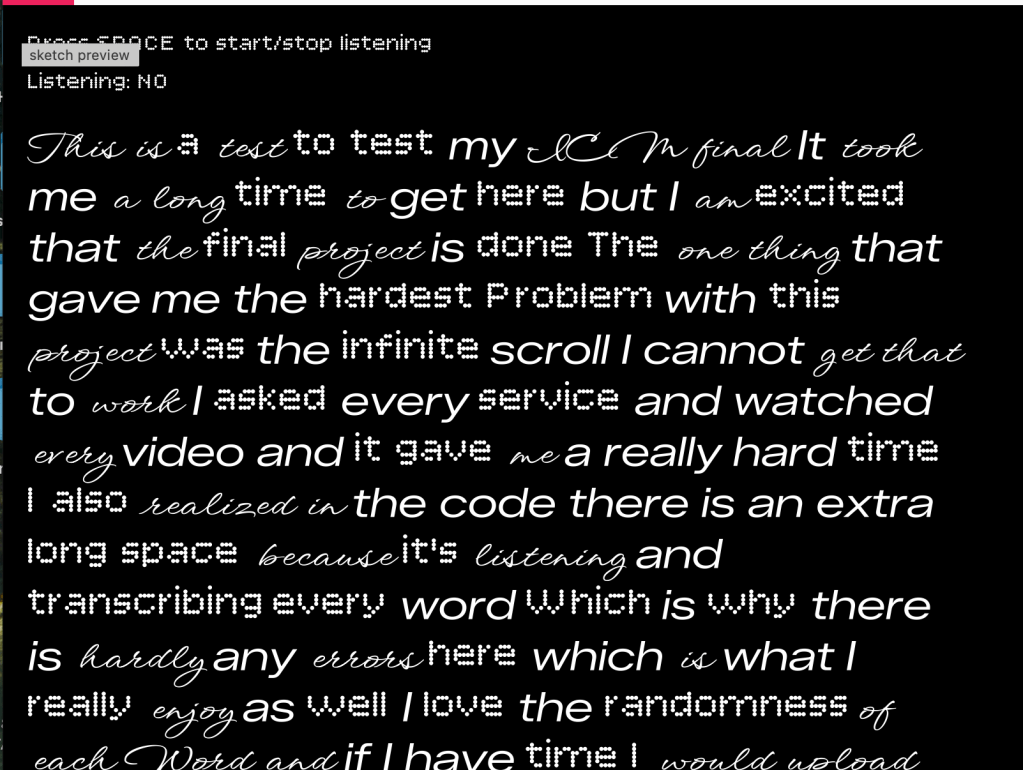
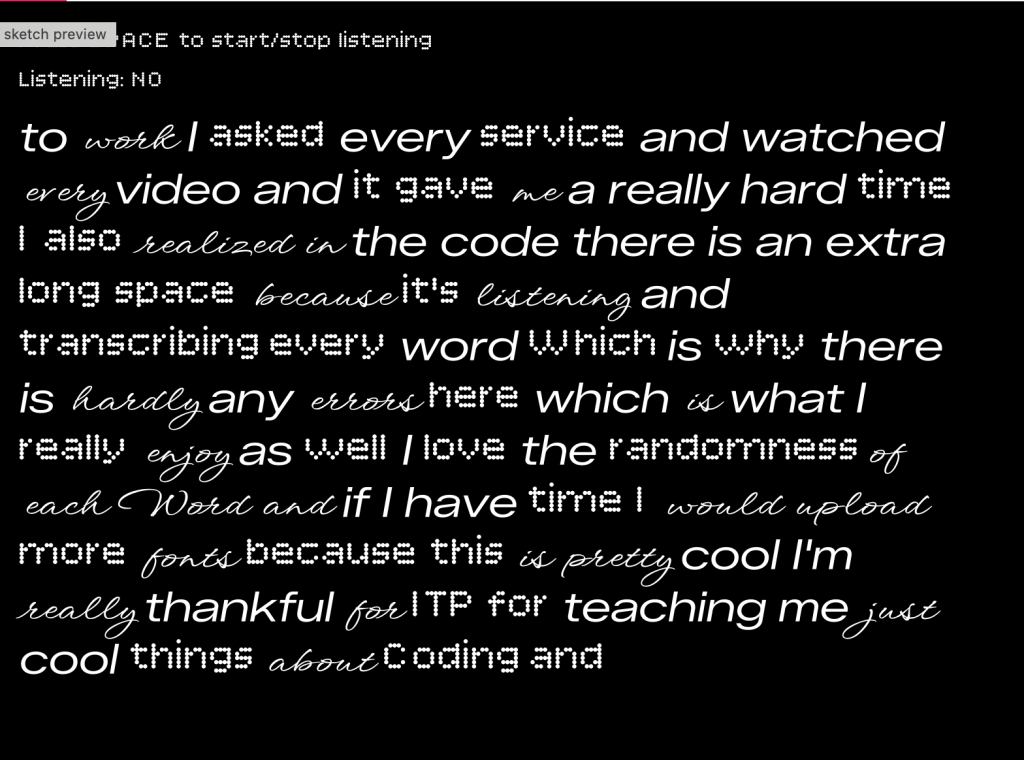
Once I nailed down the speech recognition, through the code I am managing live speech input, assigning random fonts to each word, and keeping the text moving upward as more words appear. As you are speaking to the black square it is randomizing your words based upon the three typography options.
Project w/o Pcomp: https://editor.p5js.org/itsnandibby/full/LsYB4n1j-
Now, it was time to add the fun stuff, and include the breadboard. At first, I started with a potentiometer because I was familiar with how to build one from my midterm.
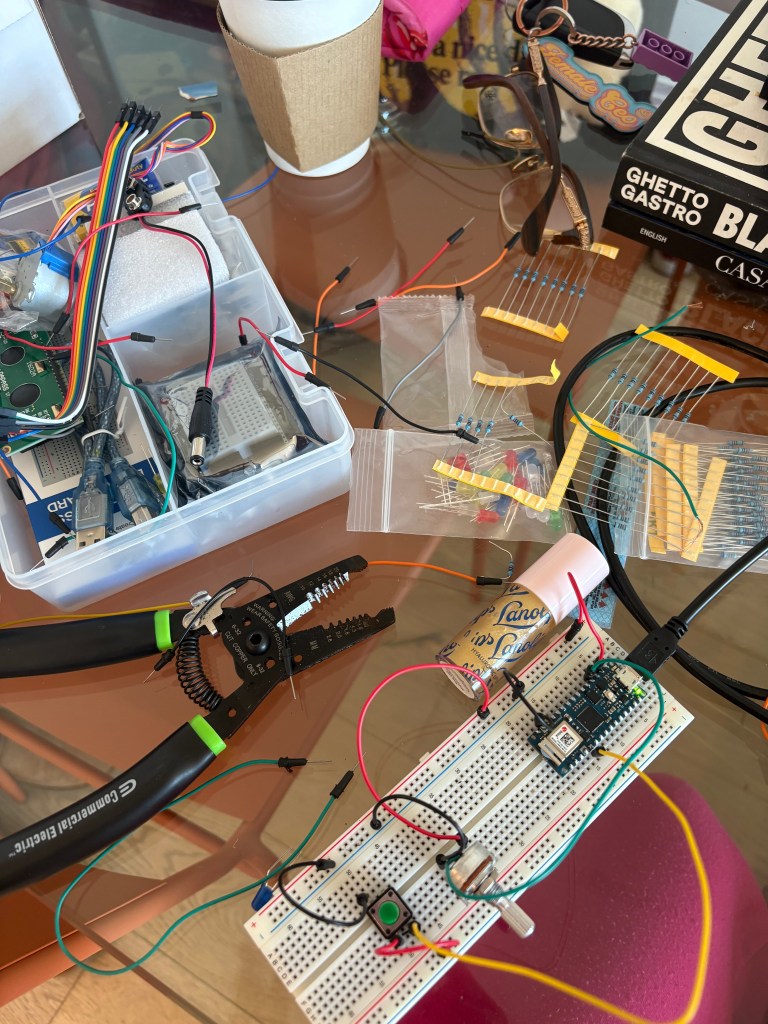
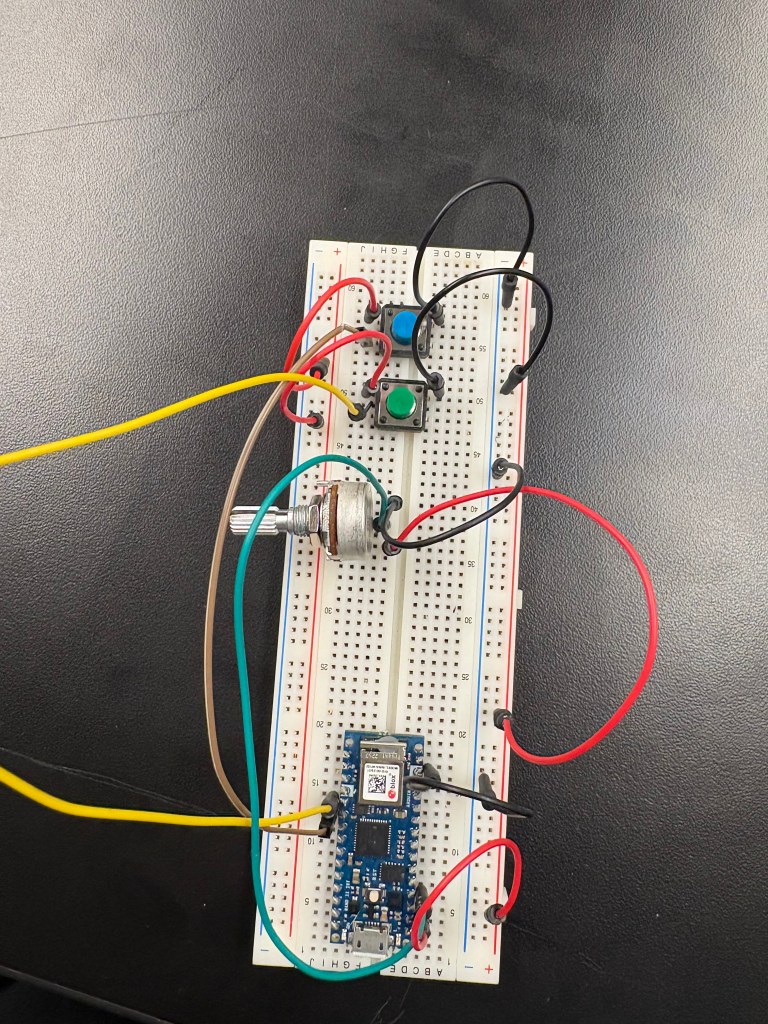
After I built the potentiometer, I added two buttons. The goal was now to be able to change the background and fade it from pink to orange with the potentiometer, change text size with one button, and randomize the text with the other button. After I was able to piece together the breadboard, I opened Arduino to build the code for the breadboard. I wanted to make sure both buttons and the potentiometer worked before I updated my code in P5.
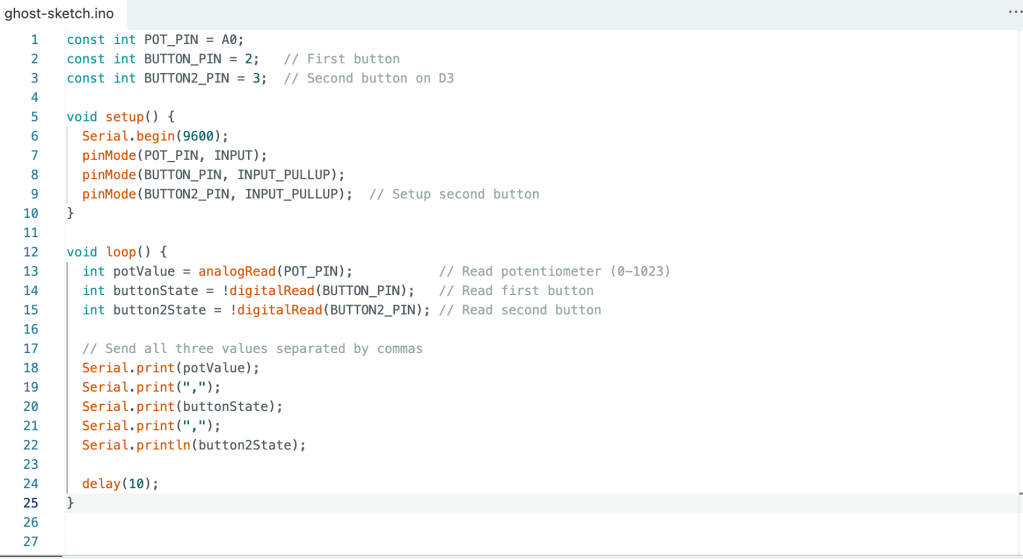
In the Arduino code, I set up the potentiometer on pin A0 and the two buttons on pins 2 and 3, using INPUT_PULLUP to avoid needing external resistors. The code reads the potentiometer value (0-1023) and both button states, then sends all three values to P5 via serial communication separated by commas.
In P5, I mapped the potentiometer value to smoothly interpolate the background color from soft pink (RGB: 255, 182, 193) to warm orange (RGB: 255, 165, 0) using the lerp() function. Button 1 randomizes all the text by reassigning each word a random font from my collection of five custom fonts. Button 2 cycles through three text sizes (32, 48, and 64 pixels) each time it’s pressed, allowing the text to grow progressively larger before looping back to the smallest size. All these controls work in real-time, even while actively recording speech.
I added some style elements like adding a title and changing the font to that however, after the breadboard was built I went into testing.

A fast video below of me trouble shooting
Here is my friend playing with my final project
And that’s my final project! Thank you Danny!
Final Project w/ Pcomp: https://editor.p5js.org/itsnandibby/full/WauQLFTpg

Leave a comment